
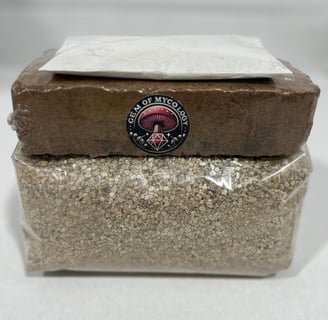
DIY Coco Dry Kit
MAKE YOUR SUBSTRATE IN 3 EASY STEPS!
Place the coco brick at the bottom of a clean 5 Gallon bucket, then add the vermiculite and gypsum
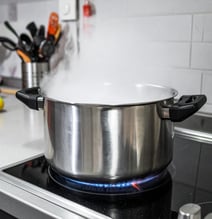
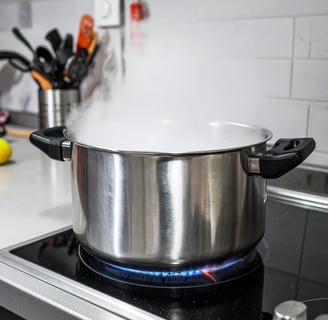
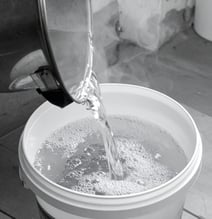
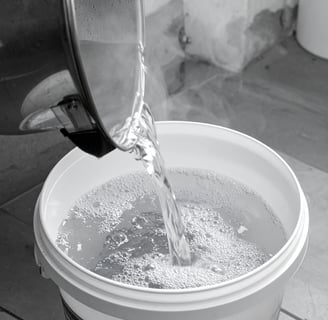
Pour in 4 quarts of boiling water and close the lid. Leave for at least 6 hours
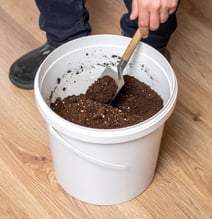
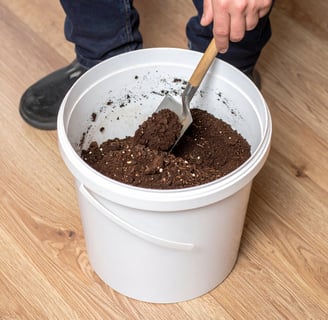
When bucket is room temperature, shake the bucket to mix the contents well, use a handheld shovel or a gloved hand to mix and breakup any clumps in the substrate
This kit produces about 10 lbs of Coco substrate for use with 4-5 lbs of colonized grain spawn in a monotub or grow bag
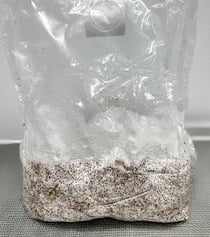
Break Up the Spawn (not included, but can make your own or purchase online)
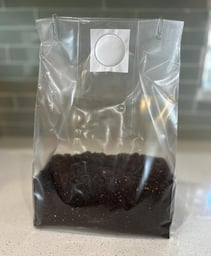
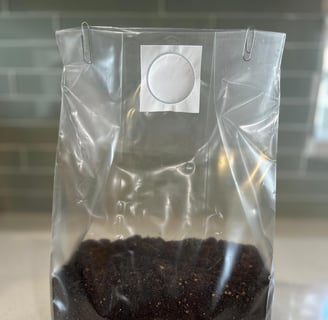
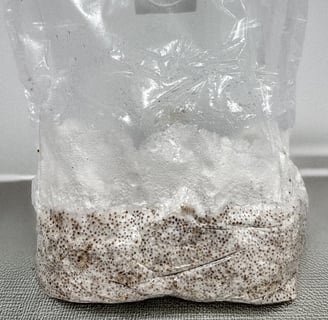
Gently break apart the colonized grain spawn by squeezing the bag. This helps individualize the grains for even distribution.Add to Grow Bag or Mono tub
In a sterile environment (optional but...)—preferably in front of a flow hood or inside a Still Air Box (SAB)—add the grain spawn to your grow bag or monotub.💡 Recommended ratio: Use 1 part grain spawn to 2 parts substrate (2:1 substrate to spawn).
Seal and Mix
For grow bags, seal with a desktop sealer, zip tie, or even paper clips.
Gently shake the bag to thoroughly mix the grain and substrate.
Lightly press the contents to form a compact brick-shaped block for optimal colonization.
For Monotubs
In a cleaned and sterilized (cleaned with bleach or alcohol) Pour the prepared substrate into your tub.
Add grain spawn on top.
Wearing sterile gloves, level and mix the grain evenly into the substrate by hand.